Overview
- Introduction
- Thresholding
- Segmentation
- Otsu's Method
- Edge Detection
- Canny Edge
- Outlook and Conclusion
2: Segmentation
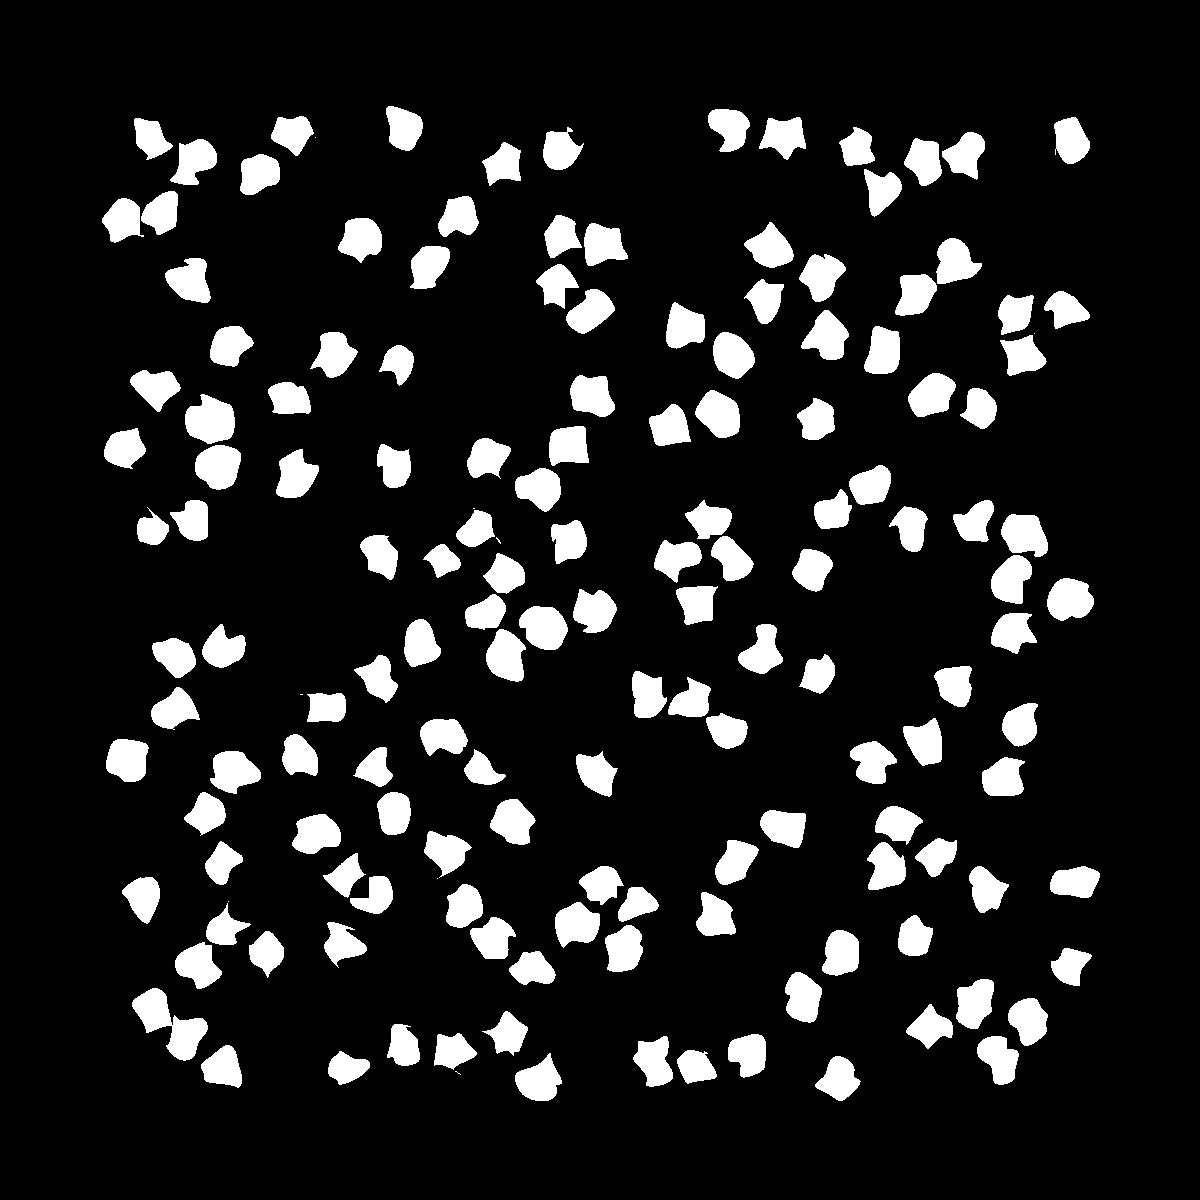
For your second task, you will be implementing a plugin, which will be capable of evaluating the quality of a segmentation by comparing it to a given reference-image. In clinical practice these reference images can be attained through manual segmentation of the image by a skilled physician.
In your case the provided reference image will look like this:

2.1: A new class
In order to quantify the quality of your segmentation, you will be calculating the values for Sensitivity and Specificity, which were introduced in your blackboard-exercise. In addition, you will be creating a dedicated class to store and access these values.
To do:
- Create a new class in the
src-Folder namedEvaluationResult - Create the class-variables
sensitivityandspecificity(both double) - Implement a constructor:
public EvaluationResult ( double specificity , double sensitivity ){} - Implement getter-methods for both values:
 public double getSpecificity (){}
 public double getSensitivity (){}
2.2: The Plugin
The rest of the code for this task will be implemented in the provided class Task_2_EvaluateSegmentation.
In order to calculate the values for Sensitivity and Specificity, you will need to assign a "state" to each pixel of your segmented image. The states in question are:
| State | |
|---|---|
| TP | "True Positive" → the pixel was correctly identified as part of the target |
| TN | "True Negative" → the pixel was correctly identified as background |
| FP | "False Positive" → the pixel was falsely identified as part of the target |
| FN | "False Negative" → the pixel was falsely identified as background |
For decerning which of these cases applies to a given pixel, the reference image is used as the "correct" segmentation.
The values for Sensitivity and Specificity can then be calculated as follows:
Specificity = TN/(TN+FP)
To do:
- Create a new method:
private EvaluationResult evaluateSegmentation ( ImageProcessor segmentation , ImageProcessor reference ){} - Check if both images have the same dimensions - if not return null
- Iterate over both images and count up the number of occurrances for each state
- Calculate the values for Sensitivity and Specificity using the formulas listed above
- Create a new
EvaluationResult-object to store these values and return it
Now that you have created a method which perfroms the actual evaluation, you will need to implement the run-method in order to apply the plugin to an image.
To do:
-
Use the
IJ.openImage()-method to open a window, which allows the user to select the reference image. -
Check wether the reference image has been loaded successfully - if not throw a fitting exception
💡 Tip:
Check the ImageJ-API to see how the method behaves when no image has been loaded
-
Once the image was loaded successfully, apply your
evaluateSegmentation()-method and print your results📝 Note:
As a test for your code, you could for example choose the
cells_referenceimage as both "segmentation" and "reference". The plugin should then return 1.0 for both values.
2.3: Project-Report
The part of your report concerning Task 3 should contain the following:
- A brief explanation as to what TP, TN, FP, FN mean
- The formulas for Specificity and Sensitivity
- A brief explanation on what Specificity and Sensitivity mean in the context of image-segmentation
Additionally you should also include your own results from this exercise:
- Using your plugin from Task 1 generate 6 different segmentations of the "cells"-image using approapriate hyperparamters.
- Use the plugin you implemented in this task to evaluate each segmentation
- Display your results in an appropriate way
- Name two other ways to evaluate how good the segmentation is
